Setting Up Roles
– Administrator function –
Non-admin users with the appropriate security action privileges can also create new users.
You can use the Generic Import Utility to add roles to (or remove roles from) users in bulk.
Create a CSV file with column headings LoginName and RoleName, and list users next to their role(s) under the column headings. You can assign more than one role to a user: create a row for each role. In the import screen, select Add Role to User or Remove Role from User as appropriate. For more information, see Importing Text or XML Files into Cority Tables.
To create a role:
-
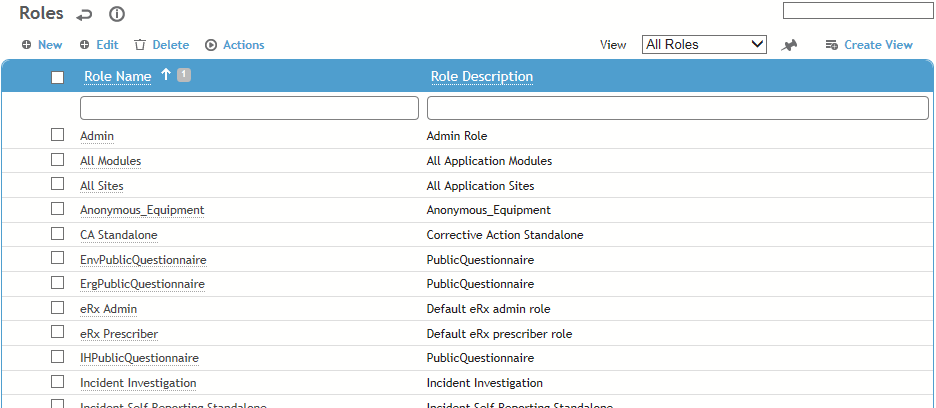
In the Administrator menu, click Roles.
To identify the list views that have been granted to a role, choose Actions»List Views That Have Been Granted To Roles. If you delete a view/role combination from this list, the view will be removed from the corresponding role.
-
Click New.
-
Enter the Role Name and, optionally, a Role Description.
Do not use spaces or special characters in role names.
-
Click Save. The role is now available to be granted to users (see Setting Up Users). The Assigned Users tab displays all users who have been assigned to this role.
-
Use the Granted Modules tab to grant or deny access to security modules.
-
Use the remaining tabs, as appropriate, to further tailor permissions by granting access to specific actions, views or dashboards; denying access to specific views, published reports, non-published queries, actions, fields or measures; or prohibiting the creation of new views of selected lists.
A role may be granted the ability to (or be prohibited from) delete, display, create new, or save records across the application (*.delete, *.display, *.new *.save).
See Granted vs Prohibited for information about which takes precedence.
Important: A field that is prohibited will not be provided in the available fields list for the Report Writer entity, and data related to that field will not appear on list views. The field will still display on the default layout. In order to prohibit fields on a form, create a new layout that does not contain the fields you want to prohibit and then assign roles to the layout accordingly.
Be aware that even if you prohibit the Employee Number, there are some fields where this information still appears (e.g. InjuredEmployee). On any list views or Report Writer reports that include FullNameandNumber, employee number values will be masked using the 'XXXX’ format.
