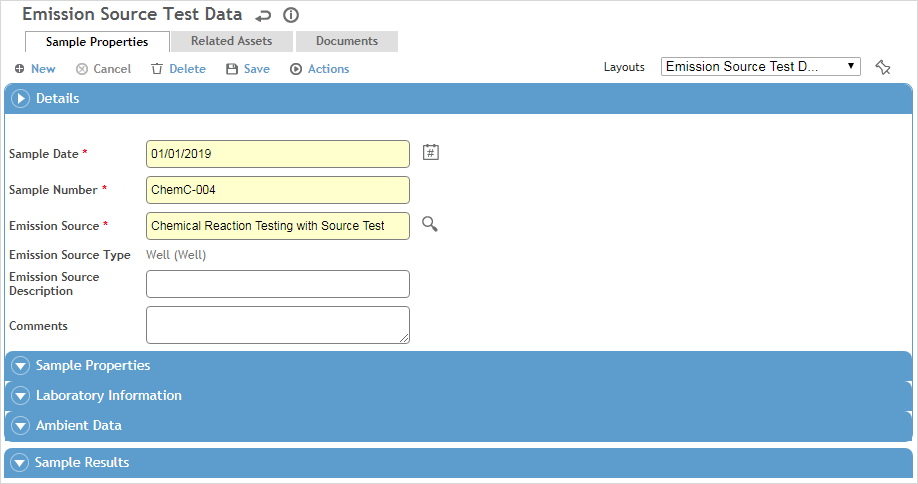
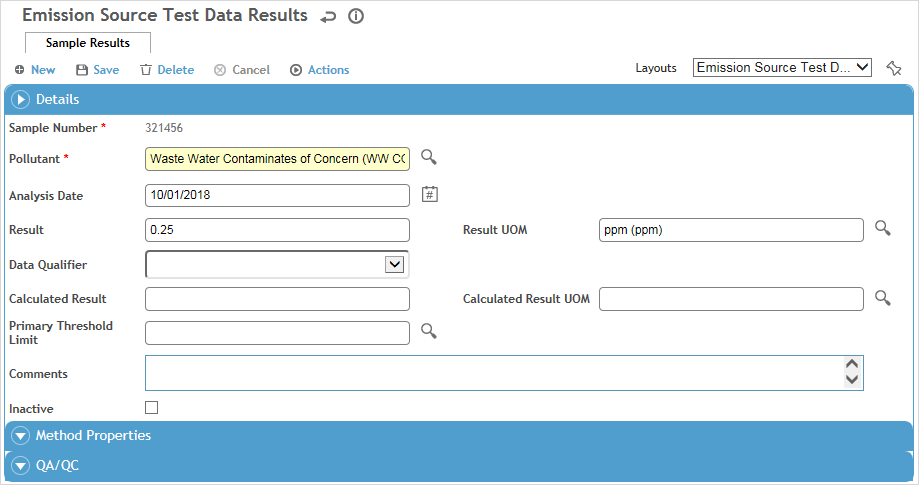
In the Emissions Inventory menu click Emission Source Test Data.
Click a link to view a test sample, or click New to enter a new sample.

Use the Site Selector (at the top of the Emissions Inventory menu) to view just the source test data records related to a particular GDDLOFB node.
On the Sample Properties tab, enter information about the sample including the Sample Date, Sample Number, Emission Source, properties of the sample, laboratory information, and ambient data.
Use the Documents tab to link an external file to the record to provide easy access to the file (for more information, see Linking or Importing a Document).
The Forms tab displays all forms in the PDFForm look-up table that have a linked module of “Source Profile” and a status of Preview or Published. Open and complete these as required.
If added to your layout, you can use the Corrective Actions tab to associate finding and actions with the test results and assign corrective actions. For information about recording an action, see About Findings and Actions.
Click Save.
 to retrieve an existing pollutant from the